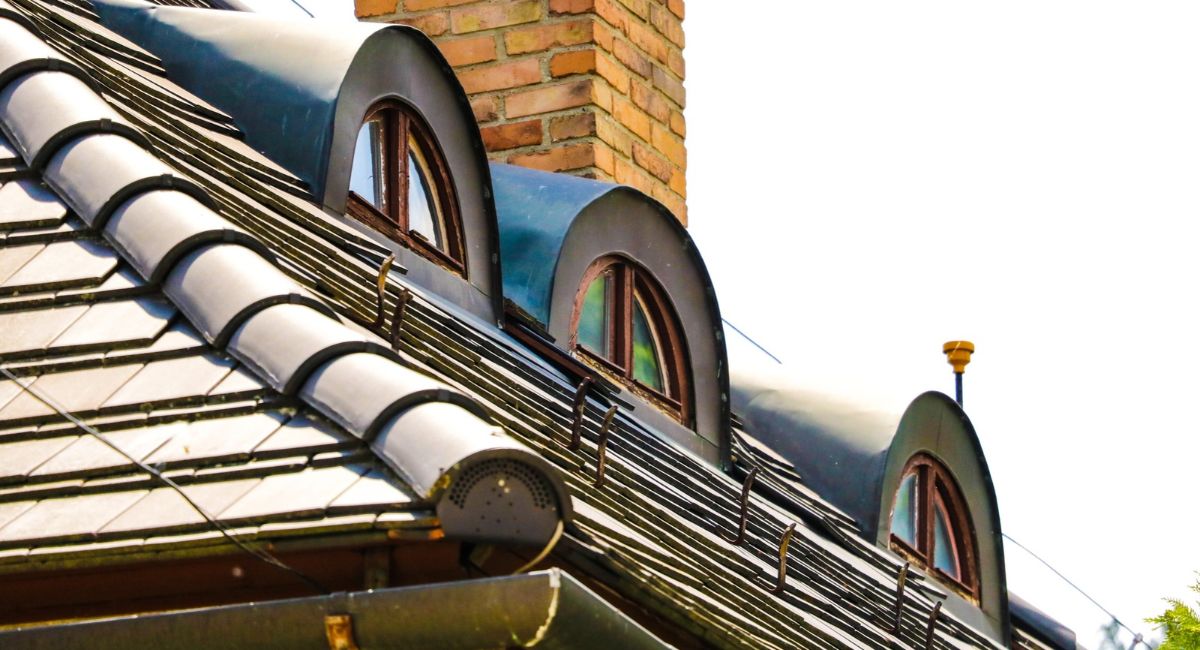
A curved dormer is one of the prettiest things you can put on a roof. It is also one of the easiest places to get a leak.
Shingles come out of the bundle flat and rectangular, and a curved dormer is neither of those things.
When I look at a roof, I go straight to the places where water has to change direction, such as valleys, flashing and the joint where one roof meets another.
A curved dormer packs all of those into a few square feet. Whether you are planning one or living under one, the details below decide whether it stays dry.
What a Curved Dormer Needs to Stay Dry
A curved dormer stays dry when five things are done right, and skipping any one of them usually shows up as a ceiling stain later.
5 Things That Keep a Curved Dormer Dry
01. A deck that bends
The wood under the roofing has to follow the curve without cracking or leaving flat spots.
02. A full waterproof layer
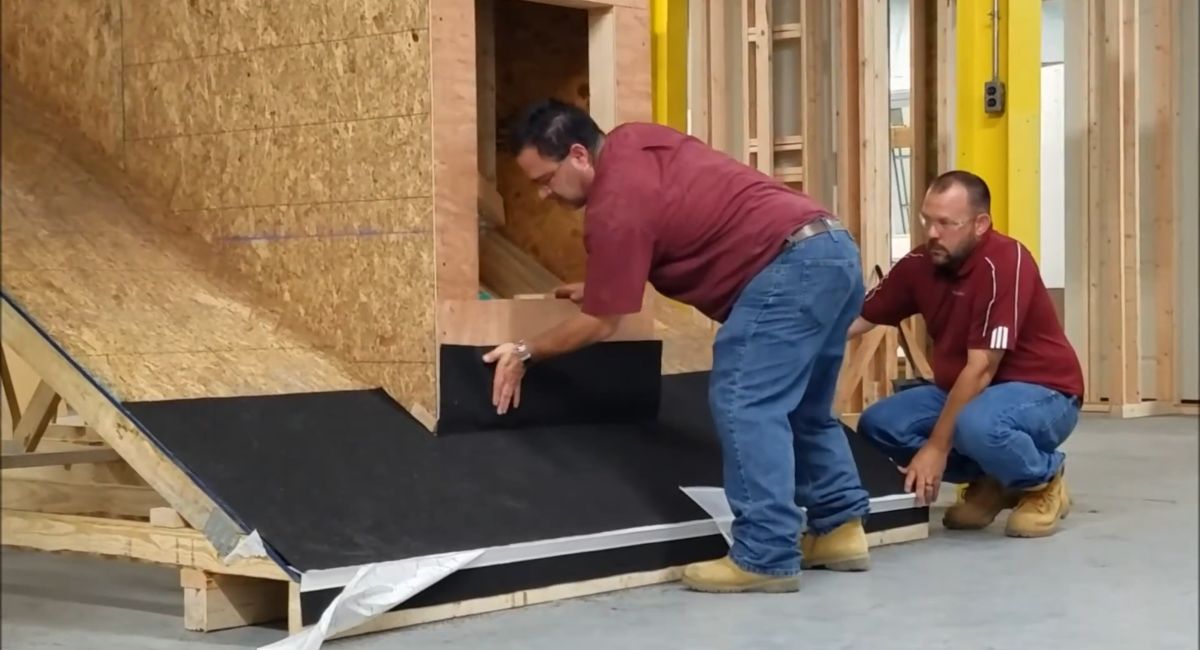
A self-sticking membrane covers the dormer before any shingle goes on.
03. Shingles cut to fit
Pieces get narrower as the curve tightens, so each one lies flat.
04. Flashing shaped to the curve
Metal pieces guide water around the dormer walls and into the main roof.
05. Enough slope
The flattest part of the curve still has to shed water.
Caulk cannot stand in for any of them. Sealant over a gap is a shortcut, not a fix, and it rarely lasts on a joint that moves with every change in weather.
Know Which Curved Dormer You Have
The two common curved styles move water in different ways.
| Style | What it looks like | Where water goes | Trickiest spot |
|---|---|---|---|
| Eyebrow | A low wave in the roof with no side walls | Over the hump and back onto the main roof | The nearly flat center of the curve |
| Barrel, also called arched | A half circle on top of two short side walls | Down the arch, along the walls and into curved valleys | Where the arch meets the main roof |
An eyebrow has no corners for water to hide in. The trouble is that its middle can flatten out until water barely moves.
A barrel dormer drains faster, but it creates curved valleys, which are channels where two roof surfaces meet.
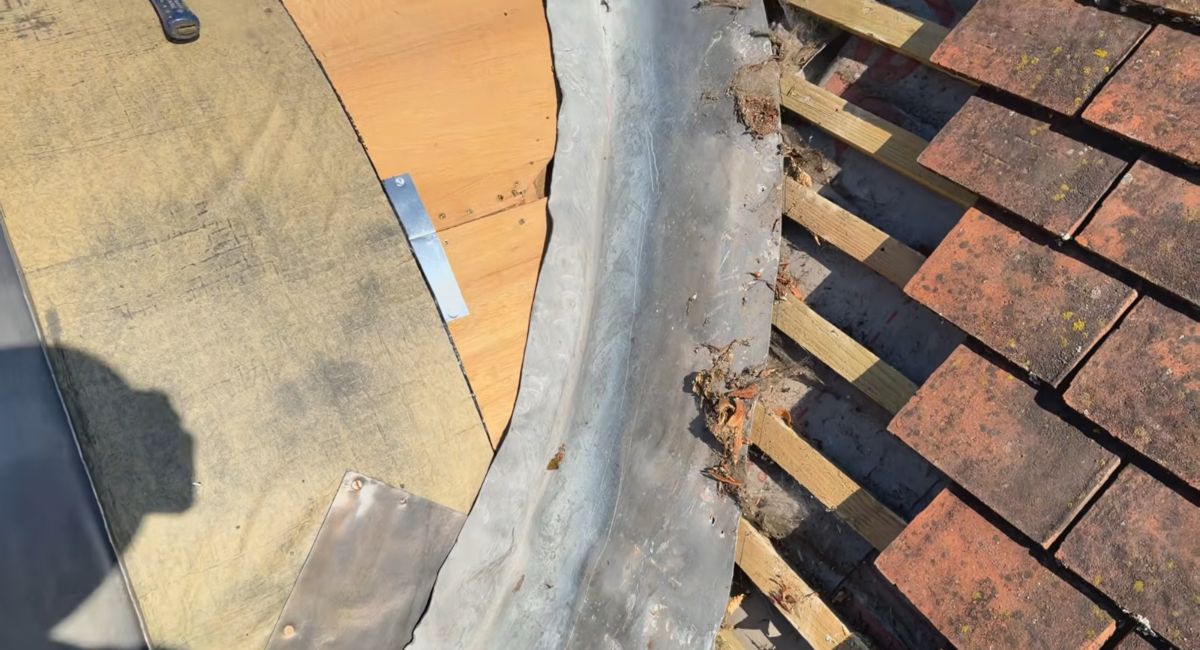
Valleys carry a surprising amount of water, and a curved valley is harder to line with metal than a straight one.
Why the Flattest Part of the Curve Decides the Plan
Roof slope, also called pitch, means how many inches the roof rises for every 12 inches it runs sideways.
A 4-in-12 roof climbs 4 inches over every foot. Curved roofs have no single pitch. The slope runs from steep at the sides to almost flat near the top.
A Bloomington, Minnesota handout on the residential code rules for asphalt shingles sets the floor.
Important: Minimum Roof Slope
Below 2-in-12: Asphalt shingles are not allowed on roofs flatter than this slope.
Between 2-in-12 and 4-in-12: The roof needs two layers of underlayment, the protective sheet that goes under shingles, and the low-slope instructions from the shingle maker apply.
So I judge a curved dormer by its flattest spot, not its average. If the top of an eyebrow drops below 2-in-12, shingles alone are the wrong material for that area.
Building a Deck That Actually Bends
The roofing can only be as smooth as the wood under it. Ordinary 1/2-inch plywood fights a tight curve and wants to spring back flat.
In a Journal of Light Construction article on building an eyebrow dormer, the builder used two layers of 1/4-inch plywood instead, cut into 16-inch strips with the seams staggered.
Thin layers bend more easily, and screwing them together stiffens the finished deck. He then covered the entire deck with a self-sticking waterproof membrane before roofing.
Did You Know?
The same builder kept his shingle rows level with the rows on the main roof instead of bending them to follow the edge of the eyebrow. He wrote that the difference was barely noticeable from the ground, and the straight rows protected the roof better.
Cutting Shingles So They Lie Flat
On a curve, a full shingle rocks and leaves gaps. The fix is to cut smaller pieces that sit tight against the deck. One shingle maker lays out the job like this.
- Snap chalk lines from the center of the curve down to the bottom edge, spaced half a shingle tab apart at the bottom.
- Cut pieces to fit between the lines, getting narrower as the curve tightens.
- Never use a piece smaller than half a tab. Switch to wider sections instead.
- Fasten each piece with two nails and seal it down by hand with roofing cement.
Material matters too.
The eyebrow builder found three-tab shingles stiff on the curve and noted that wood shingles and slate bend around it more easily.
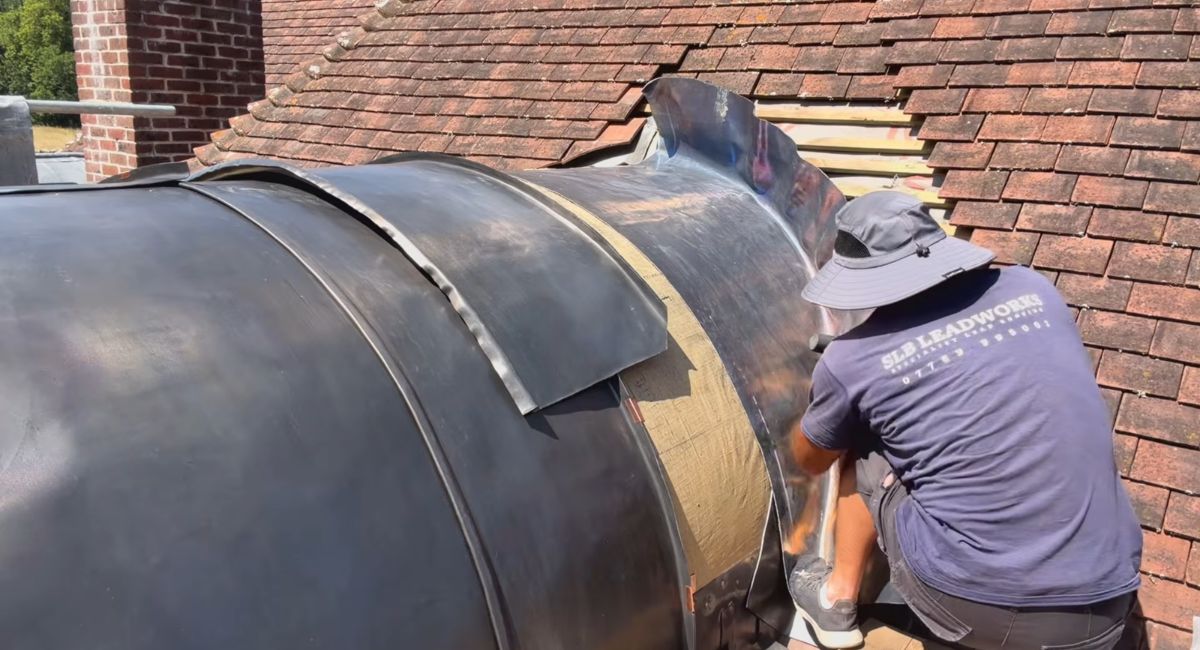
Some builders skip shingles and roof the curve in copper.
Slate also requires its own repair techniques. Even a single damaged piece needs careful handling, as explained in our guide to replacing one broken roof slate.
Flashing Where the Curve Meets the Roof
Flashing is thin metal that keeps water out of joints the roofing cannot cover.
On a barrel dormer, most of it sits along the side walls and the curved valleys.
- Step flashing, the small L-shaped pieces woven into each shingle row, should reach at least 4 inches up the wall and 4 inches onto the roof, according to the Department of Energy guide to step and kick-out flashing at roof and wall joints.
- At the front corners, the first step flashing piece laps over the apron, the flashing that runs across the base of the window.
- The curved part at the top usually gets pre-formed rounded flashing, often copper, rather than hand-bent scraps.
The copper industry dormer flashing details call for at least 12-ounce copper and 16-ounce for the apron under the window.
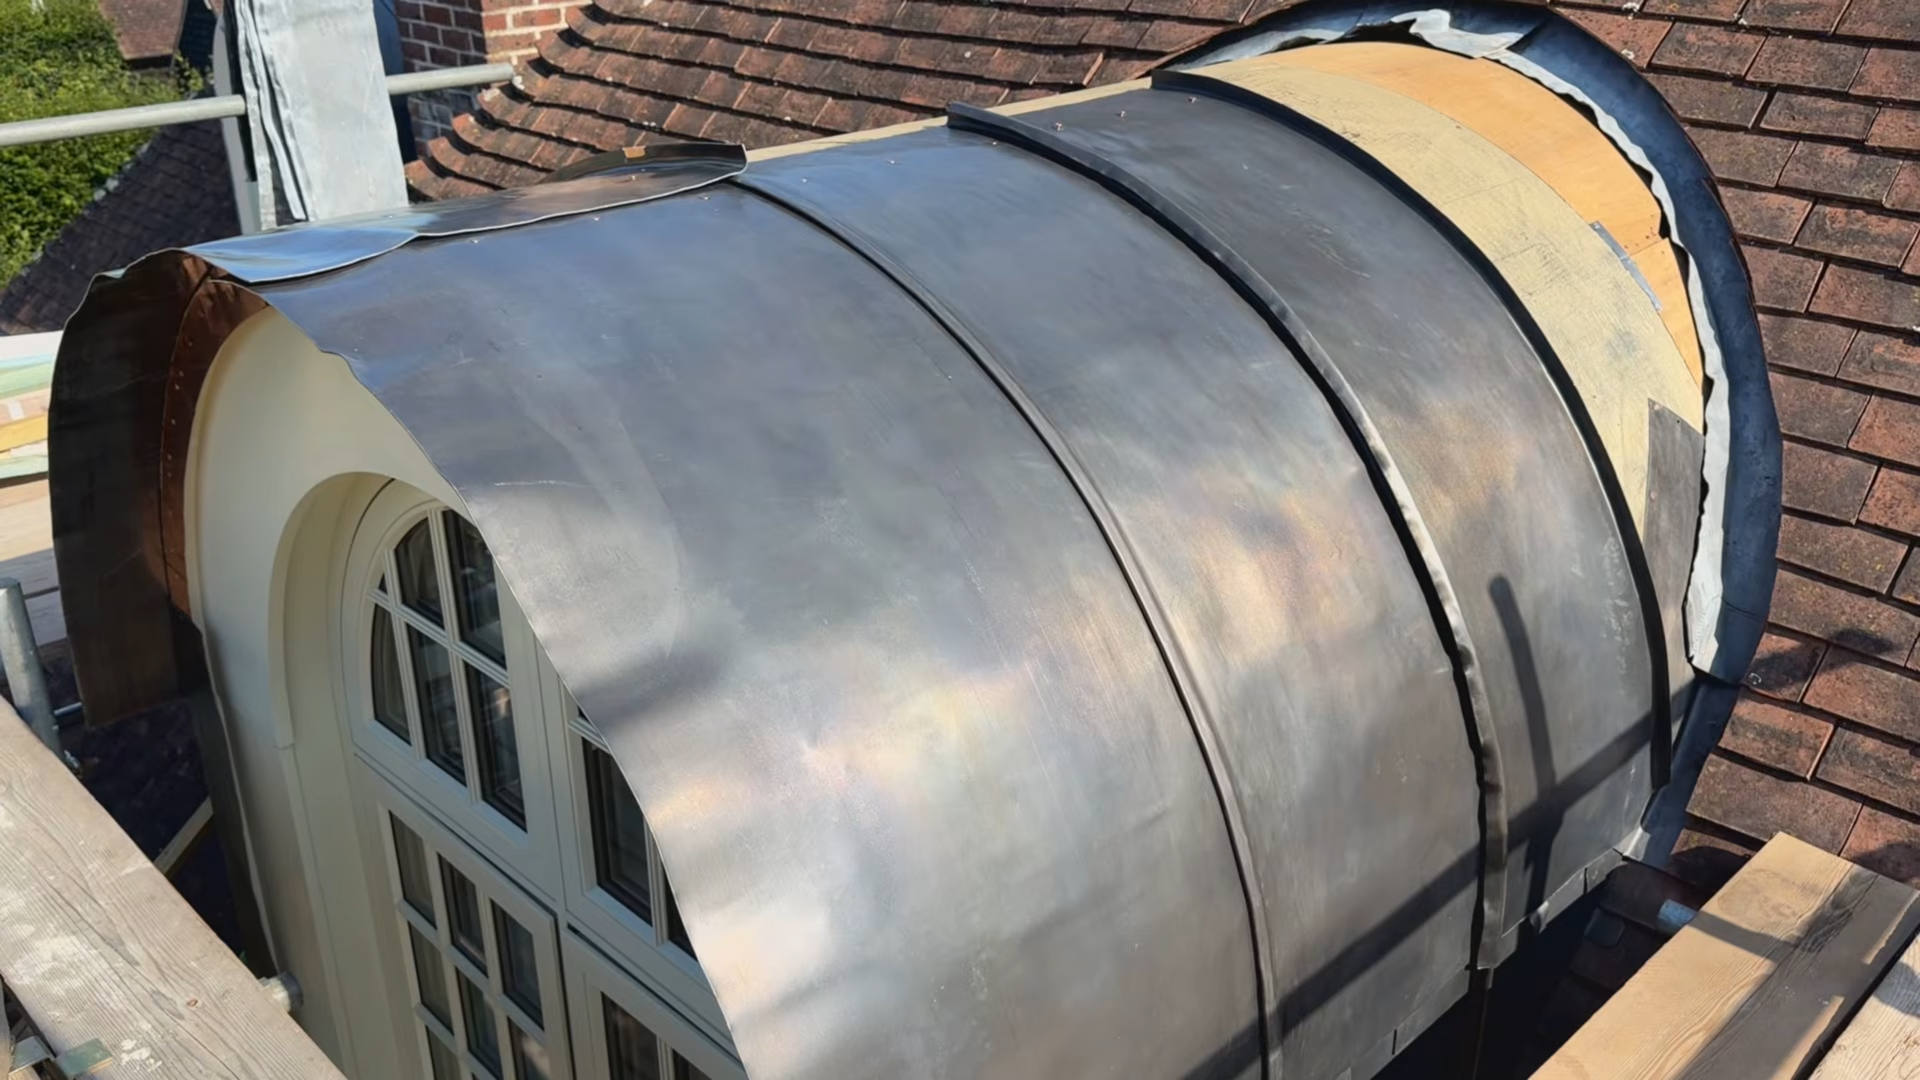
Watch: Traditional Lead Work on a Curved Dormer
Roofing a curved dormer takes more than cutting materials to size. In the video below, SLB LEADWORKS demonstrates how lead is shaped and fitted around a curved dormer, showing the careful preparation and hands-on work needed for a clean finish.
What You Can Check and What to Ask
You can learn plenty without climbing anything. Inside, look at the ceiling and walls around the dormer window for stains or peeling paint, especially after windy rain.
Outside, use binoculars to check whether shingles near the top of the curve lie flat or curl up at the edges.
I point out dormers from the passenger seat, and my wife will tell you nobody asked. Most of what I see from the street tells me nothing about the flashing underneath.
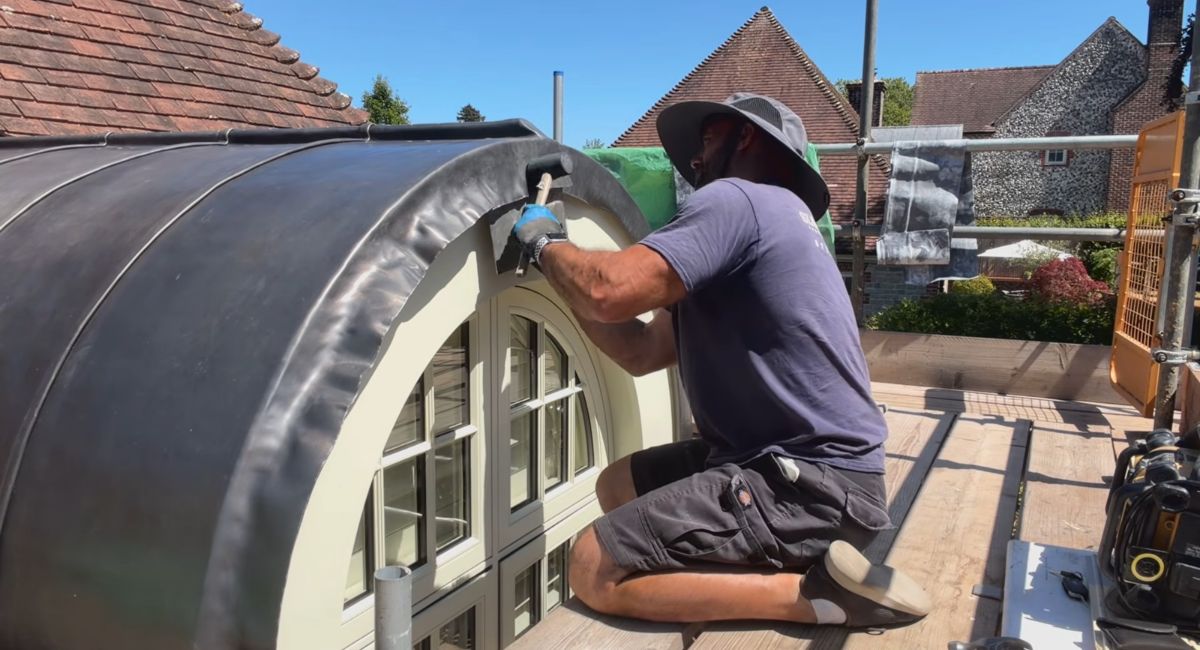
Watch: Finishing the Lead Roof on a Curved Dormer
In the second part of the SLB LEADWORKS series, the curved dormer takes shape as the lead covering is fitted across the arch. The footage gives homeowners a closer look at the careful metalwork that is difficult to judge from the street.
Before hiring anyone, ask how they will handle the flattest part of the curve, what membrane goes under the shingles, and whether the flashing is pre-formed or cut on site.
The same questions apply to any wall joint, as with chimney leaks that start at the flashing.
Questions People Ask Me
1. Can a curved dormer be added to an existing roof?
Yes, but it is real framing work, not roofing. In one Journal of Light Construction project from 1990, small arched dormers were built in a shop and set in place by crane, each weighing about 300 pounds.
2. Does a curved dormer need its own gutter?
An eyebrow usually does not, because its water runs back onto the main roof. A barrel dormer is different, because its valleys pour water onto a narrow strip of the main roof and into one stretch of gutter.
3. Should the dormer roof be vented?
Usually. In the 1990 project, each arch had two 2-inch vent holes connecting it to the main attic, so moisture could escape instead of collecting under the curved deck.
4. Do other low roof sections have the same problem?
Yes. A low porch roof faces the same slope limits as the top of an eyebrow, which is why porch roofs often need different roofing than the main house.
5. Do I need a permit for a new dormer?
Most places require one, because a dormer cuts into the roof framing and changes how the roof carries weight. Call your local building department before any work starts.
Before the First Shingle Goes On
If you are planning a curved dormer, ask your roofer to point out the flattest part of the curve on the drawings and tell you what material goes there.
When the answer is ordinary shingles on something close to flat, push back.
If you already have one, check the ceiling around it after the next hard rain and look at the top of the curve with binoculars.
Curling shingles, loose flashing or a fresh smear of caulk near the window are all reasons to have a roofer look at it closely before winter.

I’m Mike Carter, a roofing and gutter contractor who has spent most of my working life on roofs, up ladders and around job sites. I’ve worked with everything from asphalt shingles and metal roofing to flat roofs, flashing, fascia, gutters and drainage systems.
On Gutter N Roof, I share what I’ve learned from the years of experience, so homeowners can understand what’s happening above their heads and know when something needs attention.